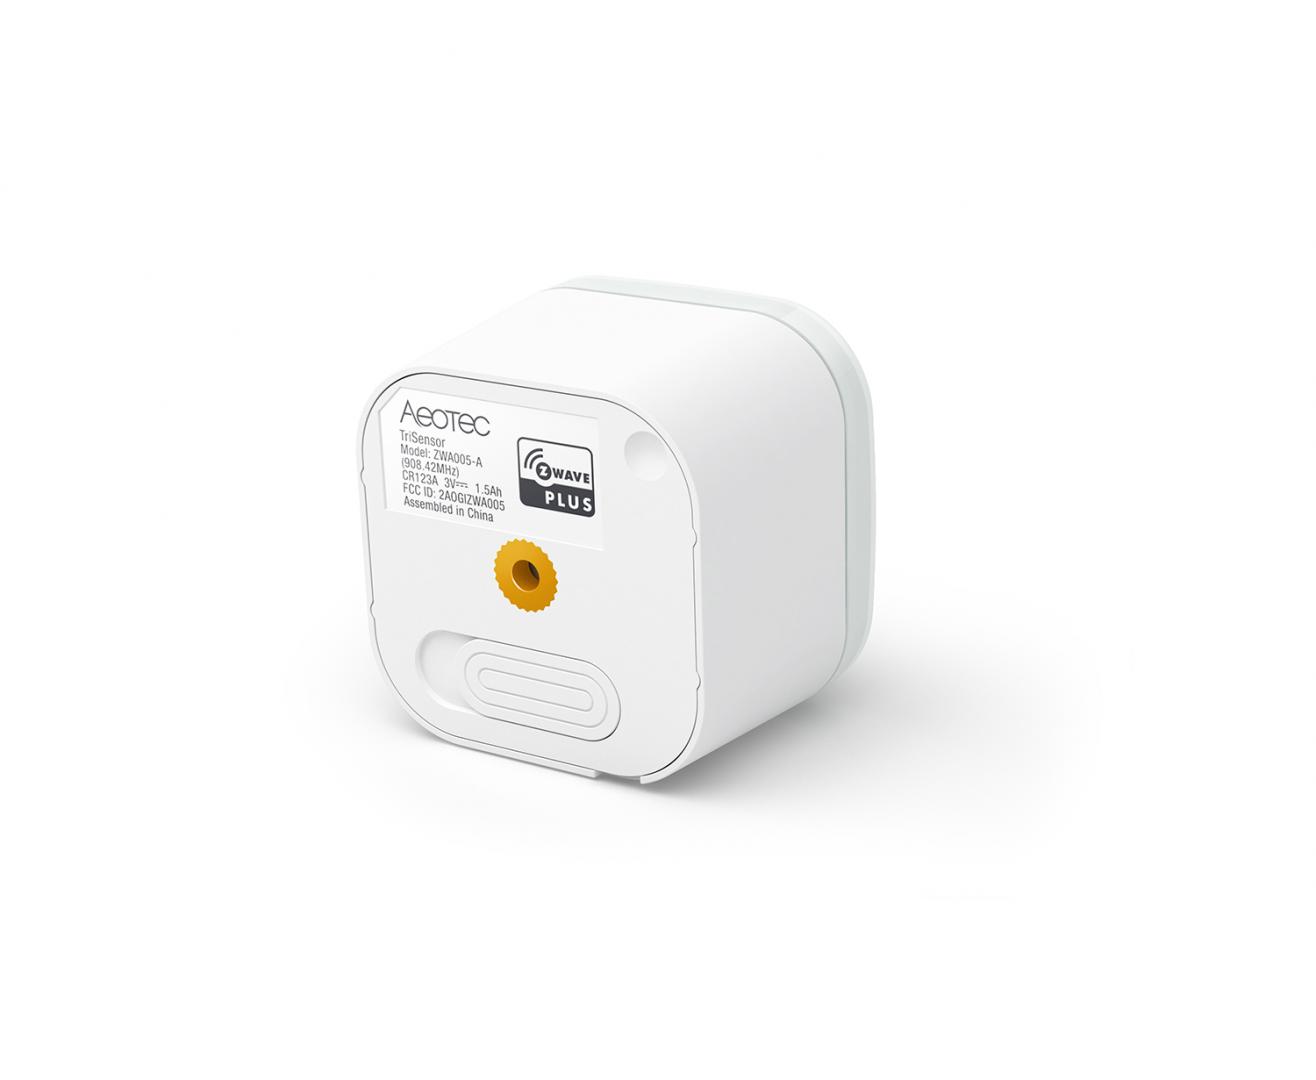
Aeotec TriSensor Z-Wave Plus Gen5

Az Aeotec TriSensor biztosítja az okosotthon-rendszeréhez kapcsolódó legfontosabb adatokat, mivel 3 különböző érzékelőt is tartalmaz. A mozgásérzékelő a helyiségekben lévő mozgásokat figyeli, a hőérzékelő információkat továbbít a fűtés-hűtés vezérléshez, a fénymérő pedig a világításvezérlést segíti.
Az Aeotec TriSensor mindössze 60 mm méretű és mindössze 50 gramm súlyú. Ez azt jelenti, hogy szinte bárhol elhelyezhető otthonában. A TriSensor 4 különböző telepítési lehetőséget kínál: a sarokban, a polcon, a gerendán vagy az Aeotec Recessorban.
-Mozgás, fény és hő érzékelése
-Kompakt méret
-Z-Wave Plus kompatibilis
-120 fokos mozgásérzékelés
-Pontos hőmérséklet megfigyelés (-10 - 50 C)
-Tökéletes szobahőmérséklet fenntartása (Z-Wave termoszát, motoros ablakburkolat)
-Fényérzékelés, fényvezérlők irányítása
Aeotec TriSensor.

Aeotec TriSensor was developed to capture and transmit environmental values and motion via Z-Wave Plus. It is powered by Aeotec’s Gen5 technology. You can find out more about TriSensor by following that link.
To see whether TriSensor is known to be compatible with your Z-Wave system or not, please reference our Z-Wave gateway comparison listing. The technical specifications of TriSensor can be viewed at that link.
Get to Know your TriSensor.
Your TriSensor comes packaged with a number of accessories that will help with its installation and operation.
Package Contents:
1. TriSensor
2. 1x CR123A Battery (included)
3. Back-Mount Arm
4. Double-sided tape
5. 2x Screws
6. Battery included in TriSensor
Sensor Functions;
1. Motion
2. Temperature
3. Light

Button Presses.
| Button Press | Function | LED Reaction | When Button is Released |
| Tap once (when unpaired). | Pair/Include | Yellow LED for 10 seconds. | Flashes green twice when successfully paired. |
| Tap once while gateway is in unpair mode. | Unpair/Remove | Purple LED for 2 seconds. | While LED when unpaired. |
| Tap once (when paired). | Send NIF | Purple LED for 2 seconds. | - |
| Press and hold for 2 seconds. | Wakeup Report | Red LED | Wakeup Report |
| Press and hold for 5 seconds. | Wakeup for 5 minutes | Yellow LED | Wakeup for 5 minutes |
| Press and hold for 9 seconds. | Health Test | Cyan LED | Health Test - Cyan LED flickers during health test, then blinks red, yellow, or green to determine direct connection to gateway health. |
| Press and hold for 15 seconds. | Factory Reset | Red LED | Factory Reset - Red LED flashes to confirm successful factory reset. |
Important safety information.
Please read this and other device guides carefully.Failure to follow the recommendations set forth by Aeotec Limited may be dangerous or cause a violation of the law. The manufacturer, importer, distributor, and / or reseller will not be held responsible for any loss or damage resulting from not following any instructions in this guide or in other materials.
Keep product and batteries away from open flames and extreme heat. Avoid direct sun light or heat exposure. Always remove all batteries from products that are being stored and not used. Batteries may damage the appliance if they leak. Do not use rechargeable batteries. Ensure correct polarity when inserting the batteries. Improper battery use may damage the product.
TriSensor is intended for use in dry locations only. Do not use in damp, moist, and / or wet locations.
Contains small parts; keep away from children.
Quick Start.
Set Up Your Power.
TriSensor will be powered by battery. These steps can be performed in any location within your home, and not necessarily in your TriSensor's final installation location.
For a battery powered installation:
1. Remove your sensor's rear cover by sliding the lock to the right.
2. Pull out the CR123A battery and remove the plastic tab.
3. Place the CR123A battery back into its original position.

As soon as TriSensor is powered on, it will flash its red LED 4 times to indicate that it is now powered and ready to be paired.
Adding your TriSensor into a Z-Wave Network.
With it powered on, it's now time to add your TriSensor to a Z-Wave network. To pair TriSensor, you are not limited to only the Z-Stick or Minimote. You may use any Z-Wave Gateway to pair TriSensor, but compatibility and how the sensor shows ultimately depends on the gateway and software integration of products.
If you're using a Z-Stick from Aeotec:

1. If your Z-Stick is plugged into a gateway or a computer, unplug it.
2. Take your Z-Stick to your TriSensor.
3. Press the Action Button on your Z-Stick. The LED will begin to blink the Blue LED slowly.
4. Press the Action Button on your TriSensor. The LED on TriSensor will blink white, then become a solid yellow LED, followed by a 2 flashes of white then green LED to indicate a successful inclusion. If the pairing process has failed, the LED will deactivate without flashing white or green.
5. You can test if your TriSensor has been successfully included into your Z-Wave network by pressing its Action Button. If you press the button and your sensor's purple LED is solid for a few seconds, then inclusion has been successful. If the yellow LED is solid when the button is pressed, the inclusion has been unsuccessful and you should repeat the steps from step 1.
6. Press the Action Button on the Z-Stick to return it to inclusion mode.
Return it to your gateway or computer.
If you're using a specific Z-Wave gateway you may need to refer to its user manual before proceeding:
7. Set your Z-Wave gateway or software to accept the Z-Stick as a Z-Wave Controller. Using your gateway or software, re-scan for new products if required, if it is not, the new devices recently added should automatically populate in your gateway/software interface.
If you're using an existing gateway (ie. Vera, Smartthings, ISY994i ZW, Fibaro, etc):
You may need to refer to your gateway's method of including devices if you do not know how to pair a Z-Wave device.
1. Put your primary Z-Wave gateway into pair mode, your Z-Wave gateway should confirm that it is waiting to add a new device
2. Press the Action Button on your TriSensor. The LED on TriSensor will blink white, then become a solid yellow LED, followed by a 2 flashes of white then green LED to indicate a successful inclusion. If the pairing process has failed, the LED will deactivate without flashing white or green.
3. You can test if your TriSensor has been successfully included into your Z-Wave network by pressing its Action Button. If you press the button and your sensor's purple LED is solid for a few seconds, then inclusion has been successful. If the yellow LED is solid when the button is pressed, the inclusion has been unsuccessful and you should repeat the steps from step 1.
Choosing a Location for your TriSensor.
TriSensor can bring its intelligent readings to many locations of your home. Before deciding on a location, there are some things you should first consider.
TriSensors motion sensor uses light and heat readings to determine motion; sudden light and heating changes can impact the sensor's quality of motion readings. As such, your sensor should not be installed in areas of artificial temperature change. Thus, when selecting a location, avoid placing it beside or near air conditioners, and heaters.
Your TriSensor will be powered by batteries, you should avoid installing it in a location where the temperature can drop below 0°C / 32°F - this is below the any battery operational use point. Selecting a location for your sensor also depends on the layout of any area that you want monitored. Whatever the room or area, please ensure that it fits with your sensor's effective motion sensing range as described in the following diagrams.
For optimal performance, your TriSensor should NOT be mounted directly on or near metal framing or other large metallic objects. Large metal objects may weaken the Z-Wave wireless signal TriSensor depends on for communication due to the wireless reflective properties of metal.
TriSensor maximum motion detection range is: 23ft or 7m.
Outdoor installation.
Please note that when installed outdoors of your home, your TriSensor should only be relied on for temperature and light where as the motion sensing capabilities should be disabled on your gateway in order to avoid false motion readings. If selecting an outdoor location, it's important to position your TriSensor in a sheltered location. It is best if your TriSensor is not directly exposed to rain, snow, or other elements.
If you wish to use TriSensor outdoors, you will need to lower settings, and angle TriSensor accordingly as all environments will require different solutions or different settings for the motion sensor to work properly. Parameter 3 [1 byte] will determine the sensitivity of the motion sensor from a value range of 0 disabled to 11 max sensitivity (your ability to configure this setting will depend on the gateway used).
It is advised that if you are seeing false motion tracking, run trial and error to determine the best sensitivity from a range of 0 - 11 by going down 1 sensitivity level after every test (first 5, 4, 3, 2, then 1), while setting Parameter 3 [2 byte] to 5 to allow a PIR sensor timeout of 5 seconds after detecting motion to rapidly determine the best settings for motion use outdoors.
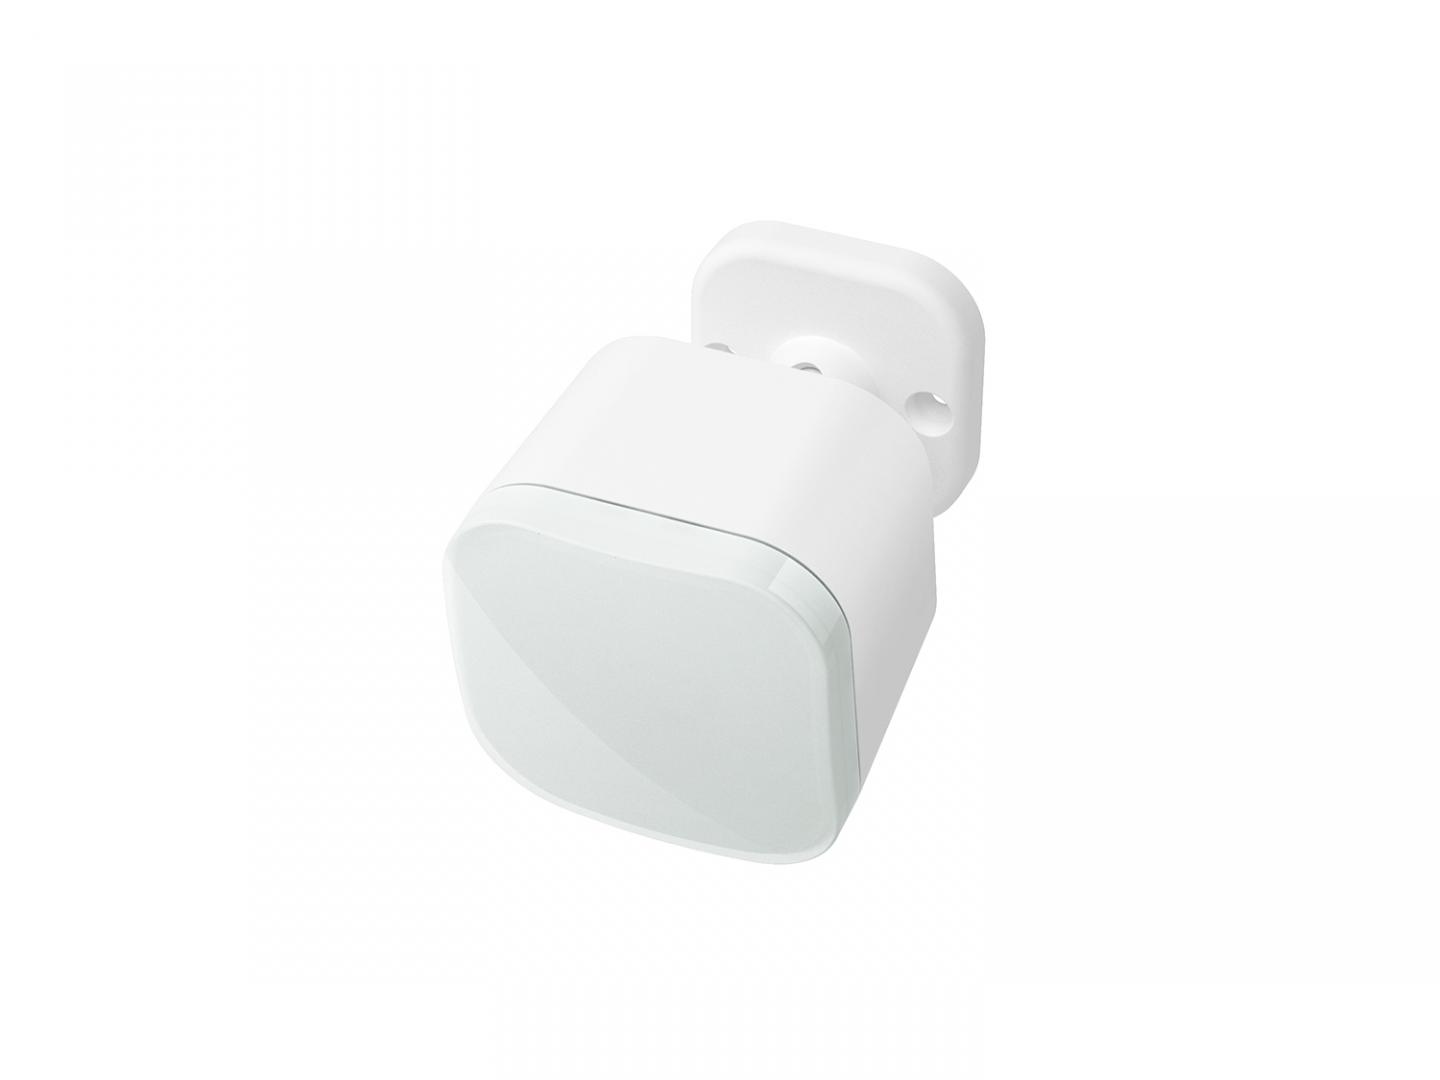
Physically install your TriSensor.
With your TriSensor now a part of your Z-Wave network and having determined its installation location, it's time to finish its physical installation. There are 2 ways that your TriSensor can be mounted on a wall or ceiling. Most simply it can be placed upon a shelf without the need to attach further accessories. You can mount your sensor in a corner or against a wall or ceiling by using the Back-Mount Plate. It's also possible to embed your TriSensor within a ceiling or wall using its Recessor accessory (sold separately).
To install your TriSensor;
Reattach the three parts of your TriSensor to each other. Unlock the Battery Cover from the Sensor unit.

You may also install your TriSensor on any flat surface area such as tables, and bookshelves;

You can place it upon a shelf without the need to attach further accessories.
To install your TriSensor with the Back-Mount Plate;
1. You can affix the Back-Mount Arm by Double-Sided Tape or using the provided KA2.5×20 mm screws.

Tips: We suggest you choose the second method (using screws to affix the Back-Mount Arm) which would be more stable.
2. After you have completed the affixing of Back-Mount Arm, you will need to lock TriSensor to the Back-Mount Arm by screwing TriSensor in.

3. The Back-Mount Arm may be locked at various angles by turning the Friction Lock clockwise and counter-clockwise to respectively tighten or loosen the angle of the arm. You can rotate the Friction Lock to change the measurement area of sensor.

Advanced Functions.
Battery Reporting.
Your TriSensor has built in battery level detection. It will automatically report its battery level to the associated controller/gateway throughout its life until the battery is fully drained and needs replacing. The battery status will often be displayed in the user interface of the controller/ gateway. When used properly in an optimized Z-Wave network, your TriSensor can be powered by batteries for 24 months before battery replacement is necessary.
Recommendation: For networks which do not offer a method to display
For the battery level of your TriSensor, it is recommended that the sensor be tested occasionally to ensure that the batteries still hold enough charge to operate. Batteries naturally lose their charge over time.
Battery reports and when them come.
There are a few ways to update your battery status.
- Polling
- Battery GET command
- Automatic Wakeup Notification Report
The most optimized method is to wait for TriSensor to Wakeup and send the battery report during this time. In order to poll or send a Battery GET command to TriSensor, this sensor will need to report a Wakeup Report to your gateway.
By default, Wakeup Report will be sent at an interval of once every 8 hours as well as its Battery Report.
Waking up TriSensor manually.
During TriSensors normal use, TriSensor will remain in a sleeping state to conserve battery power and will continue to detect motion and report sensors to your gateway, TriSensor needs to be awake or in an active state in order to take in new configurations or commands. There are 2 methods of waking up TriSensor to take in new commands from your Z-Wave gateway.
Forward wakeup report command (momentarily wake up TriSensor).
Forwarding a wakeup report to your gateway is a good way for TriSensor to take in queued commands from your gateway. If your gateway queues commands to battery devices, you can queue as many commands for TriSensor then perform this step to take in all of the commands at once.
- Remove TriSensors battery cover (by unlocking then removing the cover)
- Press and hold TriSensors Action Button until LED turns red. (2 seconds of holding)
- Release TriSensors button.
Keep TriSensor awake for 5 minutes.
Keeping your TriSensor awake is a good way to send in commands one by one from your gateway as you are able to with plugin Z-Wave devices that are always active. This is good for gateways that do not queue commands for you and require immediate action.
- Remove TriSensors battery cover (by unlocking then removing the cover)
- Press and hold TriSensors Action Button until LED turns yellow. (5 seconds of holding)
- Release TriSensors button.
If you were successful in keeping TriSensor awake, its yellow LED will remain solid up to 5 minutes. If your gateway sends a NO MORE INFORMATION command back, this will instantly put your TriSensor back to sleep right away (so if you see that yellow LED immediately disappeared, this is exactly what is happening).
You can manually put TriSensor back to sleep by tapping its button once.
Typically your TriSensor will automatically wake up once every 8 hours by default automatically.
Testing Health Connectivity.
Note - Health test does not test for routing communication health, only tests for direct communication with your gateway to determine if it has a healthy direct connection.
You can determine the health of your TriSensors connectivity to your gateway using a manual button press, hold, and release function which is indicated by the LED color.
- Remove TriSensors battery cover. (by unlocking then removing the cover)
- Press and hold TriSensors Action Button until LED turns cyan/blue color. (9 seconds of holding)
- Release TriSensors button.
- TriSensor will enter health communication test mode by flickering its cyan/blue LED, this will go on for about 2 minutes.
- LED will then change to a solid color for 2 seconds to indicate its health and communication to your gateway/controller (1 of 3 colors):
Red = Bad Health
Yellow = Moderate Health
Green = Great Health
Manually Factory Reset TriSensor.
This method is not fully advised unless your gateway has failed, and you do not yet have another gateway to perform a general unpair on TriSensor.
- Press and hold TriSensor Action button
- Wait until the RGB LED turns from:
- Red
- Orange
- Cyan
- Red LED flashes 5 times which will indicate a factory reset. - If your TriSensor has been successfully factory reset from its previous network, the LED will become a solid yellow when you tap its Action Button. If this has failed, the LED will become a solid purple color for 2 seconds when you tap the Action Button.
Removing your TriSensor from Z-Wave Network.
Your TriSensor can be removed from your Z-Wave network at anytime.You'll need to use your Z-Wave network's main controller to do this and the following instructions tell you how to do this.
If you're using a Z-Stick:

1. If your Z-Stick is plugged into a gateway or a computer, unplug it.
2. Take your Z-Stick to your TriSensor.
3. Press and hold the Action Button on your Z-Stick for 3 seconds and then release.
4. Press the Action Button on your TriSensor 3x times within 2 seconds. The LED on TriSensor will become a solid purple color.
5. If your TriSensor has been successfully removed from your network, the LED will flash white, green, white, green (white, then green 2x times).
6. Press the Action Button on the Z-Stick to take it out of removal mode.
If you're using an existing gateway:
You may need to refer to your gateway's method of including devices if you do not know how to pair a Z-Wave device. You may use any gateway to perform an unpair/removal on TriSensor even if they are not paired together to factory reset TriSensor.
1. Put your primary Z-Wave gateway into unpair mode, your Z-Wave gateway should confirm that it is waiting to remove a device
2. Press the Action Button on your TriSensor 3x times within 2 seconds. The LED on TriSensor will become a solid purple color.
3. If your TriSensor has been successfully removed from your network, the LED will flash white, green, white, green (white, then green 2x times).
(Br. 16.495 Ft)
(Br. 44.450 Ft)
(Br. 22.496 Ft)
(Br. 20.900 Ft)
(Br. 80.350 Ft)
(Br. 39.990 Ft)
(Br. 24.731 Ft)
(Br. 18.914 Ft)

(Br. 13.024 Ft)